


Diy Epoxy Wall Clock
Creating a DIY epoxy wall clock is a rewarding and creative project that can add a personal touch to any room. At Wolfwoodsworks, we believe in the power of handmade craftsmanship and offer guidance on how to make your own stunning epoxy wall clock.
First, gather all necessary materials. You’ll need a wooden clock face, epoxy resin, hardener, mixing cups, stir sticks, and a clock mechanism. Personalize your design with pigments, glitter, or other decorative items. Our shop offers a variety of quality materials that will help you achieve the perfect look for your clock.
Process of Diy Epoxy Wall Clock
Begin by preparing your workspace. Ensure it is clean, well-ventilated, and free of dust. Place a protective covering on your work surface to catch any spills. Measure and mix the epoxy resin and hardener according to the instructions on the packaging. Mixing thoroughly is essential for the resin to cure properly.
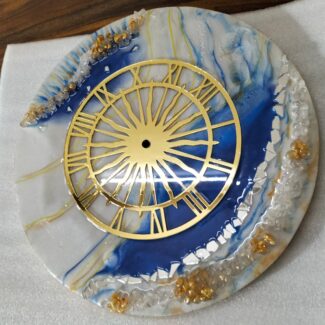
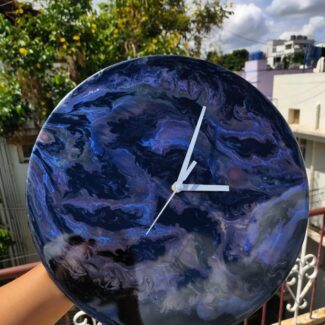
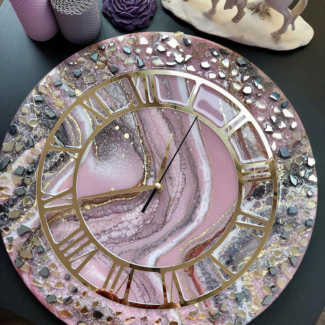
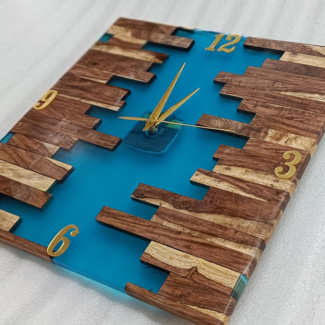
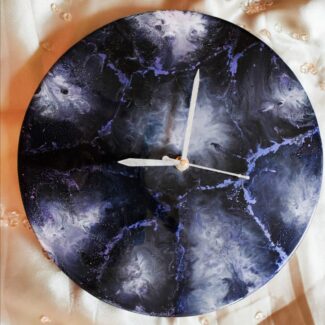
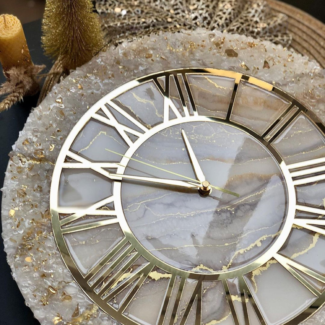
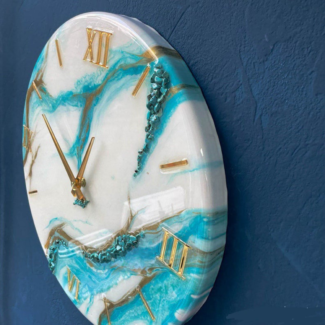
Pour the mixed epoxy resin onto the clock face. Use a spreader or a stick to distribute it evenly. This step allows you to create a smooth, glossy surface. To add color, mix pigments into the resin before pouring. Swirl different colors together to create unique, marbled patterns. If you’re adding glitter or other decorations, sprinkle them onto the wet epoxy and gently press them in.
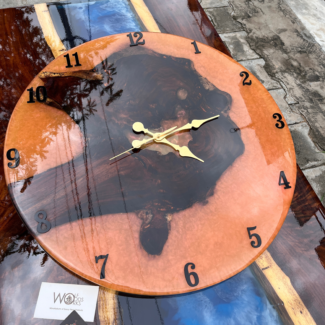
Once the epoxy has fully cured, drill a hole in the center of the clock face if it doesn’t already have one. This hole will house the clock mechanism. Insert the clock mechanism through the hole and attach the hands according to the instructions provided with the mechanism kit.
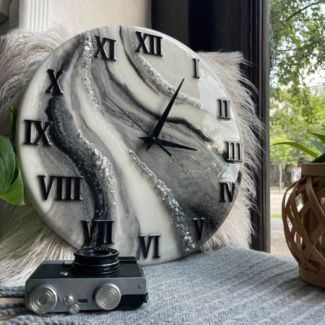
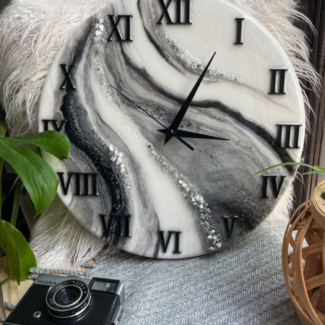
Finally, hang your DIY epoxy wall clock and enjoy your creation. The combination of epoxy resin and personalized design elements will make your clock a striking piece of functional art. At Wolfwoodsworks, we encourage you to experiment with different techniques and materials to make your clock truly one-of-a-kind.
Remember, creating a DIY epoxy wall clock is not just about the end product but also the process of crafting something with your own hands. Each clock tells a story, and at WolfWoodsWorks, we are here to help you tell yours with style and creativity. Embrace the joy of DIY projects and make your next masterpiece today. Order now!


Reviews
There are no reviews yet.